You are building an HR portal for a client or trying to automate a local recruitment agency, you already know the struggle. You post a job opening, and within 24 hours, you have 500 PDF resumes sitting in a folder. Every single one of them is formatted differently. Some candidates use plain Microsoft Word exports, some use overly designed two-column Canva templates, and everyone puts their “Education” section in a completely different spot for building an Node.js AI Resume Parser.
In the old days, developers tried to solve this by writing massive, headache-inducing Regular Expression (RegEx) scripts. We would tell the code, “Hey, look for the word ‘Email:’ and grab whatever comes after it.” But what happens when a candidate writes “Contact Me:” or “Drop me a line at:” instead? Your entire script breaks, the data gets corrupted, and you are back to square one.
Thankfully, we do not have to do that anymore. By pairing a standard Node.js backend with an AI model like Open AI’s GPT-4, we can skip the manual scraping entirely. The AI actually understands the context of the text, no matter how weirdly the PDF is formatted , and will be helpful Build an Node.js AI Resume Parser.
In this comprehensive guide, I am going to walk you through the exact backend architecture, the necessary middleware, and the line-by-line code you need to build a smart, secure resume parser that turns messy PDFs into clean database records.
The Core Concept: Think of It Like a Restaurant
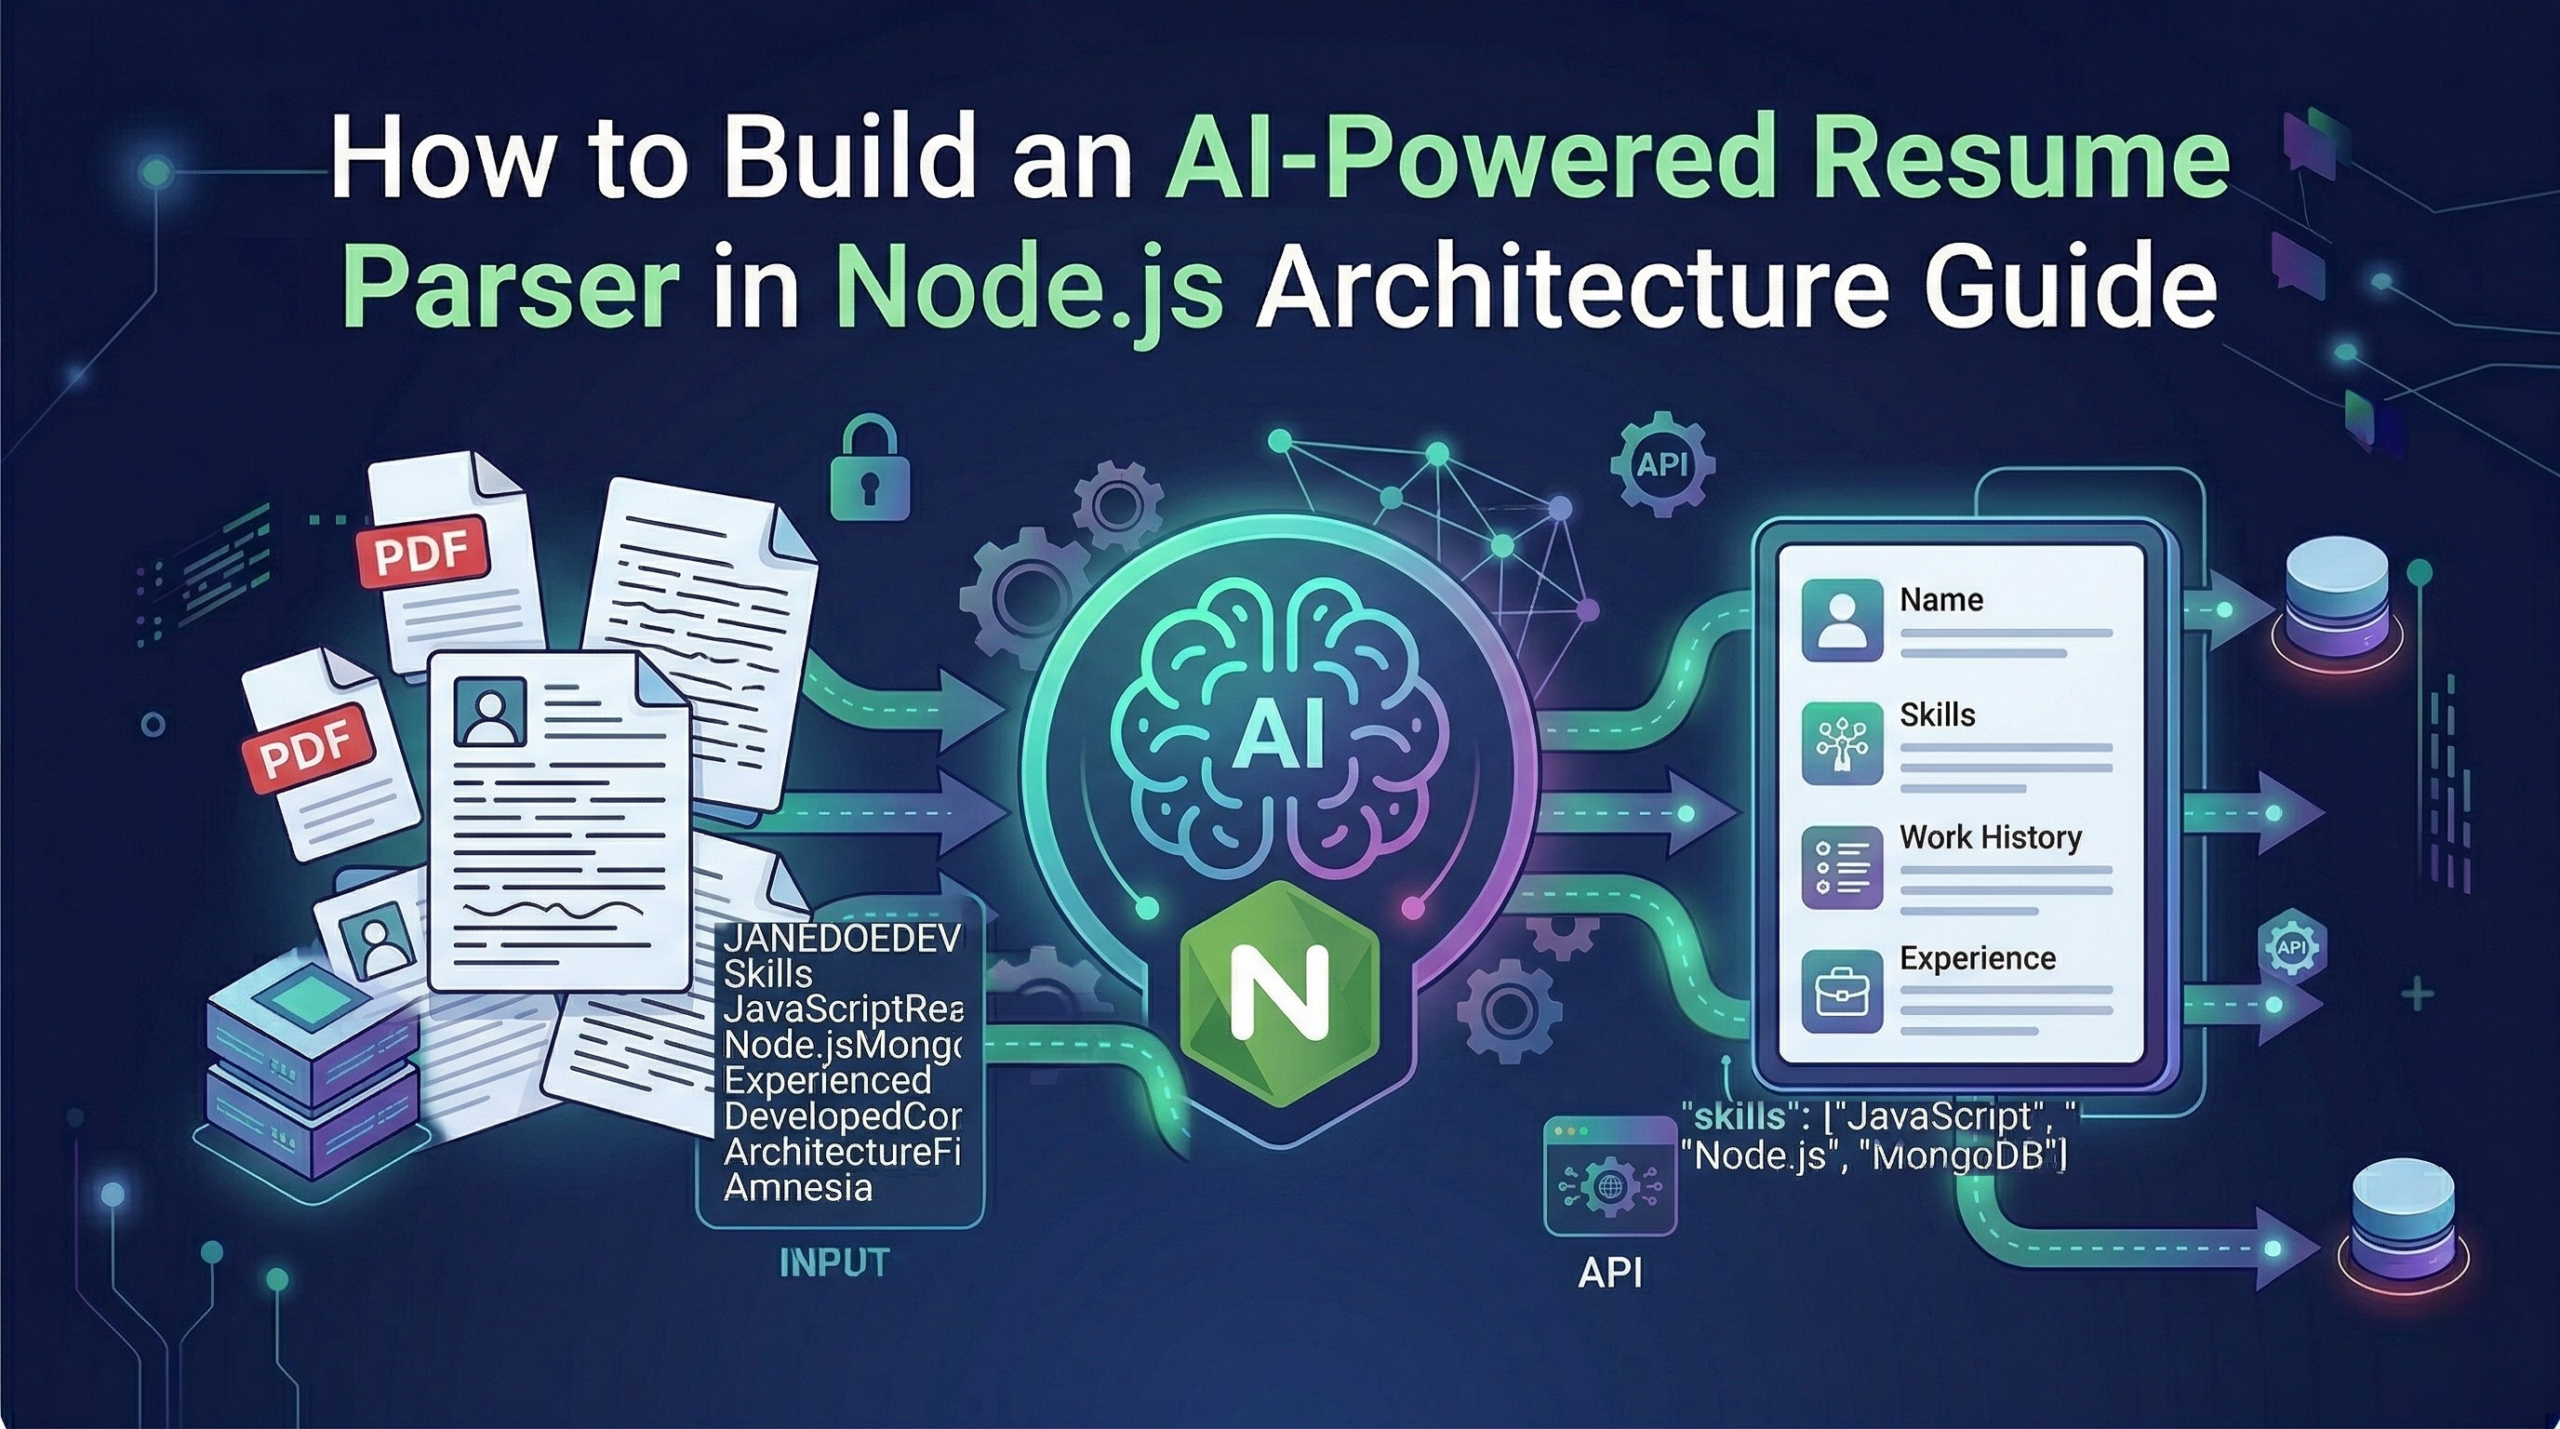
Before we open up our code editor, let’s look at the logic. A secure, production-ready AI tool works in three distinct steps. I like to explain this using a restaurant analogy:
1. The Frontend (The Customer Table): This is your clean, simple website where the user clicks an “Upload Resume” button. We won’t focus heavily on this today, as you can build this with React, Next.js, or even plain HTML.
2. The Node.js Server (The Waiter): This is our backend. The waiter takes the PDF from the customer, walks into the kitchen, reads the text off the document, and securely hands that text to the chef. We must use a backend waiter because we never want the customer’s browser talking directly to our AI. If they do, clever users can steal our secret API passwords.
3. The OpenAI API (The Head Chef): The AI is sitting in the kitchen. Our Node.js server hands the messy text to the AI and gives a strict order: “Read this CV. Give me the Name, Email, and Top 3 Skills. Nothing else.” The AI thinks, organizes the data, and hands it back to the waiter, who brings the clean data back to the database or the user’s screen.
It is that simple. Now, let’s look at how to actually engineer this pipeline detail by detail for build an Node.js AI Resume Parser.
Step 1: Setting Up Your Node.js AI Resume Parser
To build our “waiter,” we need a fast server environment that can handle file uploads without slowing down. Node.js is perfect for this because of its non-blocking architecture.
First, open your terminal, create a new folder, and initialize your project:
Bash
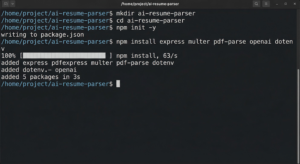
mkdir ai-resume-parser
cd ai-resume-parser
npm init -y
Next, you will need to install five essential packages to make this machine work:
Bash
npm install express multer pdf-parse openai dotenv
Here is exactly what these tools are doing behind the scenes:
-
express: The standard framework we use to create our server and listen for incoming file uploads. -
multer: This is a lifesaver. It is a piece of middleware that intercepts the uploaded PDF file before it hits your main logic. -
pdf-parse: A super handy JavaScript library that reads the raw PDF and strips out all the human-readable text. -
openai: The official SDK to let your server talk securely to ChatGPT’s brain. -
dotenv: A security tool to hide your private passwords.
If you having some interested visit AI Applications Content
Step 2: The Security Imperative (Hiding Your Keys)
Please, whatever you do, do not hardcode your OpenAI API key directly into your server file. We have all heard the horror stories of developers accidentally pushing their keys to GitHub and waking up to a $5,000 API bill.

Create a file named .env in the root of your project and paste your secret key inside:
Code snippet
OPENAI_API_KEY=sk-your-super-secret-key-goes-here
PORT=3000
Now, create your main server file, server.js, and load these secure variables at the very top:
JavaScript
require('dotenv').config();
const express = require('express');
const multer = require('multer');
const pdfParse = require('pdf-parse');
const { OpenAI } = require('openai');

const app = express();
const port = process.env.PORT || 3000;

// Initialize the OpenAI Client
const openai = new OpenAI({
  apiKey: process.env.OPENAI_API_KEY,
});
Step 3: Grabbing the PDF (Without Ruining Privacy)
Here is where a lot of beginner tutorials get it completely wrong. When a user uploads a resume, the server needs to put that file somewhere in order to read it.

Most people just save it to their server’s hard drive using Multer’s DiskStorage. If you are building an HR tool, do not do this! Resumes are packed with Personally Identifiable Information (PII)—phone numbers, home addresses, and work histories. Saving hundreds of these to your server creates a massive legal and privacy liability.
For Build an Node.js AI Resume Parser.
Instead, you must use Memory Storage.
When the file is uploaded, Multer holds it temporarily in your server’s RAM (short-term memory) as a “Buffer.” It only exists long enough for your code to read the text. The second the request is done, the memory wipes itself clean. The file never actually saves to your hard drive.
Here is the exact code to set up secure memory storage:
JavaScript
// Configure Multer for Memory Storage
const storage = multer.memoryStorage();

// Create an upload instance, restricting it to single PDF files
const upload = multer({
  storage: storage,
  fileFilter: (req, file, cb) => {
    if (file.mimetype === 'application/pdf') {
      cb(null, true);
    } else {
      cb(new Error('Only PDF files are allowed!'), false);
    }
  }
});
Notice that we also added a fileFilter. Users will inevitably try to upload .docx or .jpg files. This filter instantly rejects anything that isn’t a PDF, protecting your server from crashing.
Step 4: Stripping the Text from the PDF
Now we build the actual API route. When the frontend sends a file to /api/parse-resume, our server intercepts it, checks the memory buffer, and uses pdf-parse to strip away all the visual elements (colors, tables, fonts).
The AI does not care about how pretty the resume looks; it just needs the raw words.
JavaScript
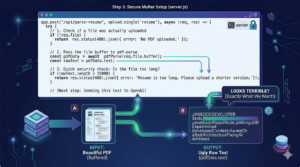
app.post('/api/parse-resume', upload.single('resume'), async (req, res) => {
  try {
    // 1. Check if a file was actually uploaded
    if (!req.file) {
      return res.status(400).json({ error: 'No PDF uploaded.' });
    }

    // 2. Pass the file buffer to pdf-parse
    const pdfData = await pdfParse(req.file.buffer);
    const rawText = pdfData.text;

    // 3. Quick security check: Is the file too long?
    if (rawText.length > 15000) {
        return res.status(400).json({ error: 'Resume is too long. Please upload a shorter version.' });
    }

    // (Next step: Sending this text to OpenAI)

  } catch (error) {
    console.error(error);
    res.status(500).json({ error: 'Failed to process the PDF.' });
  }
});
If you were to console.log(rawText) right now, it would look terrible—words mashed together, missing spaces, and weird line breaks everywhere. Don’t panic. That is exactly what we want. Large Language Models are incredibly good at finding patterns in a mess.
Step 5: Forcing the AI to Behave (The System Prompt)
This is the most critical part of the entire build. We have our ugly string of text, and we are ready to send it to OpenAI.
But here is the catch: if you just send the text and ask, “Who is this?”, the AI will act like a chatty human assistant. It will reply, “Hello there! Based on the document provided, it looks like the candidate’s name is John Doe.”
If you are trying to save this data into a database, a conversational sentence like that is completely useless. Databases need strict, predictable formats, specifically JSON.
To fix this, we have to write a System Prompt. This is a hidden set of rules we send to the AI before it reads the resume. We have to tell it to stop being polite and act like a rigid data machine. Furthermore, we will use OpenAI’s response_format feature to force the output into JSON.
Here is how we finish our API route:
JavaScript
    // ... continuing from Step 4 inside the app.post route ...

    // 4. Create the strict System Prompt
    const systemPrompt = `
      You are a strict HR data extraction algorithm.
      Read the provided resume text.
      Extract the candidate's Name, Email, Phone Number, and top 5 Technical Skills.
      Return this data ONLY as a valid JSON object.
      Do not include any conversational text, greetings, or explanations.
      If a piece of data is missing, return "null" for that field.
    `;

    // 5. Send the prompt and the raw text to OpenAI
    const completion = await openai.chat.completions.create({
      model: "gpt-3.5-turbo",
      response_format: { type: "json_object" }, // This forces perfect JSON!
      messages: [
        { role: "system", content: systemPrompt },
        { role: "user", content: `Here is the resume text: ${rawText}` }
      ],
    });

    // 6. Parse the AI's response and send it to the frontend
    const aiResponse = JSON.parse(completion.choices[0].message.content);

    // Send the beautiful, structured data back!
    res.json({
        success: true,
        data: aiResponse
    });

  // ... end of the try block ...
The Magic of the Output

Because we engineered the prompt so strictly, the AI will process the messy PDF text and return a perfectly clean data object to your server that looks exactly like this:
JSON
{
  "name": "Arsal Developer",
  "email": "contact@example.com",
  "phone": "0300-1234567",
  "skills": ["JavaScript", "Node.js", "React", "Python", "MongoDB"]
}
You can now instantly take this aiResponse object and inject it straight into MongoDB, PostgreSQL, or a frontend dashboard. No human data entry required!
If you are having some issues in implementing Visit :Makeuser
Step 6: Bulletproofing the Tool for Production
If you launch this tool to the public, users will find a way to break it. It is just a fact of web development. You need to ensure your backend is resilient. We already added a few guardrails in the code above, but let’s review why they are important:
-
Token Limits: AI models charge by the word (tokens). If someone uploads a ridiculous 20-page portfolio disguised as a resume, it will max out your API limit and crash the request. That is why we added the
rawText.length > 15000check. It protects your wallet and your server. -
Error Handling: External APIs occasionally experience downtime. If the OpenAI servers are temporarily unavailable, our
try/catchblock catches that error and relays a clear message (Failed to process the PDF) to the frontend interface, rather than just crashing the entire Node.js server.
Wrapping Up
By combining the file-handling power of Node.js with the semantic intelligence of OpenAI, you can build tools that used to take teams of engineers months to create. You don’t have to rely on fragile, outdated scraping scripts anymore.
You just build the secure backend “waiter,” let the AI be the “chef,” and watch the perfectly structured data roll in. Whether you are building this for a freelance client or integrating it into your own custom job board, this architecture is scalable, secure, and incredibly powerful.
Now this is the Node.js AI Resume Parser.
To start the server, simply run:
Bash
node server.js
And your Node.js AI Resume Parser is officially live!